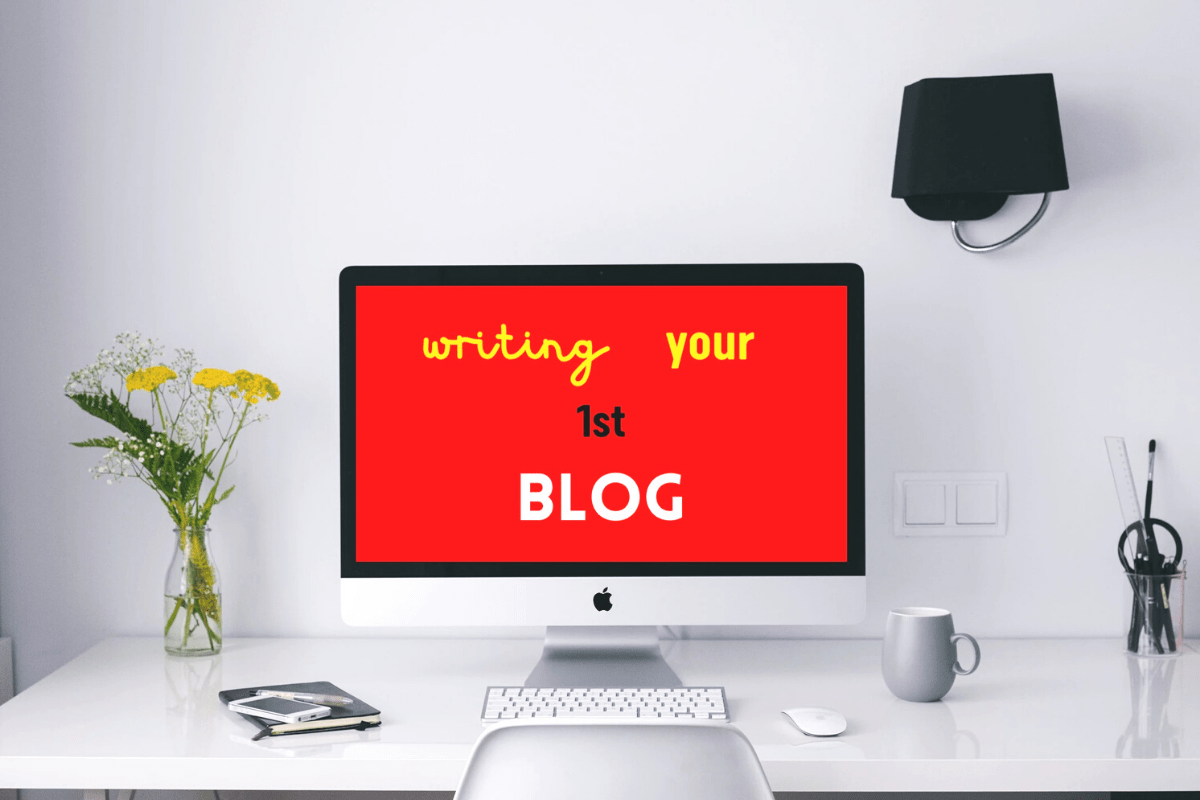
How to publish your first blog post in 5 steps
Guest Blog Post by Ruth Buckingham, Kandu Marketing.
I have been running my own business for almost five years now – I launched as a content marketing consultant after many years of working in corporate marketing roles, mainly on the sales enablement side.
The reason I share this is that I still get scared and overwhelmed when I press publish my on next blog post – what if something I have said is incorrect? What if no one wants to read what I have to say? What if, what if, what if?
If you have recently launched your own business, you may have heard about the power of content in building the “know-like-trust” factor with clients and potential clients. However, it can still seem like an enormous task to start “creating” content, never mind sharing it, especially if you are busy getting all your business fundamentals in place too.
I want to reassure you that everyone feels the same.
The joy of digital marketing also is that you can always edit or update your blog if you learn something new or want to make changes.

Why should you be blogging for your business?
There are a range of benefits to blogging. In addition to driving valuable traffic and potential leads to your website, below are just three:
- Improves SEO (the way search engines find you and show your content to your audience)
- Positions you as a thought-leader so that your clients understand your value to them.
- Provides you with a juicy bank of content that you can use on your other channels such as social media or email marketing.
How on earth do I get started with my first blog post?
It’s all very well deciding to start writing blogs, but I am sure we have all sat and stared at an empty page and felt overwhelmed.
I have created this five step list to help you get going and write and publish your first blog.
Step 1 – Brainstorm
Some topics to write about:
- What do you want your audience to know about you?
- Why did you start your business?
- What are the trends in your industry?
- What are the most common questions that people ask about your product or service?

Step 2 – Research
Once you have decided your blog topic, take some time to research more detail and background:
- Use your audience if you have one. Ask questions and ask for feedback about what they would like to find out about.
- Check out what others have written on the subject.
- Have a look at sites like Buzzsumo or Reddit for sources.
- What are you competitors saying, how does your point of view differ?
- Note down some key takeaways that you want your audience to remember.
Step 3 – Plan your blog post
- How will your blog structure look?
- What key points do you want to make?
- What do you want your readers to do at the end of reading the blog post aka what will your “Call to Action” be?
- Do you need any further information or quotes?
- What keywords will you include to help with SEO?
- What images will you need to make your post stand out?
Step 4 – Write and edit
If you have the time, I always recommend writing on one day and then returning to the copy the following day, or at least after a break.
- If, like me you are a person that is easily distracted, please set a timer, perhaps for 25 minutes? Get writing, with all your notifications turned off. You will be amazed how much you can get written in 25 minutes. Have a 5-minute break and then start again and repeat the process until you are finished.
- Check that you have broken up text with subheadings and short sentences. If you have a WordPress site (from Penny and Fred!) then Yoast has a brilliant free plugin that can help highlight long chunks of text that are difficult to read.
- Read your copy out loud, this is a quick way of spotting typos or sentences that don’t scan well.
- Are your key words are included? You can go back and do this as part of your first edit. It is recommended that they should be in your Heading, first paragraph, at least one sub-heading, Snippet (the part that the search engines use) and the alt-text of the image you use.
Step 5 – Publish and Promote
This is the bit that often makes the nerves come on, but if you have followed the steps above you can be confident that you have created a useful piece of blog content and your objective now should be to help as many people as possible get to know you, your business and what you have to offer.
Be proud of your efforts!
- Publish your blog post – once you are happy with the post, hit publish. You can choose to schedule it if you prefer so that it goes out at a day and time that works well for your audience. There are often good posts on Pinterest about the right time to share a blog post, depending on your industry.
- Share it – it would be lovely if people magically came across your blog but it simply isn’t going to happen, so it is down to you to share the good stuff – social, email, your auto-signature, really wherever you think your audience are hanging out. In addition, check out some of your social media groups that you are part of as they often have a promo thread on a weekly basis.
- Re-purpose – see what you can use from the blog post, perhaps record a video, an Instagram Live! Or offer to do a guest talk in a membership group and so on.
I hope that you found this explanation useful.
If you would like to ask any questions or discuss further, please don’t hesitate to get in touch with me. I have a handy checklist to help you get started with your first blog, click to receive a free download of the Blog Brilliance checklist and sign-up to my mailing list to be the first to receive new offers and marketing tips.